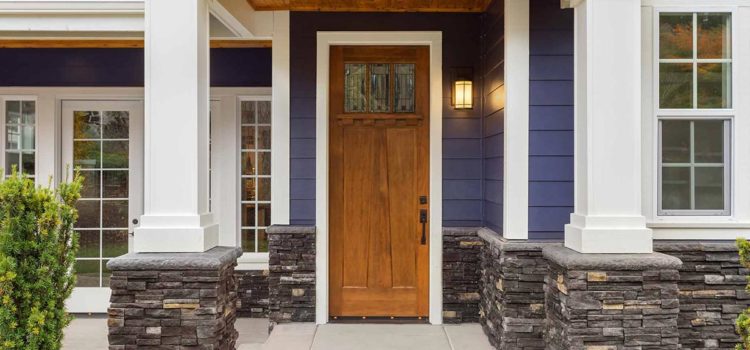
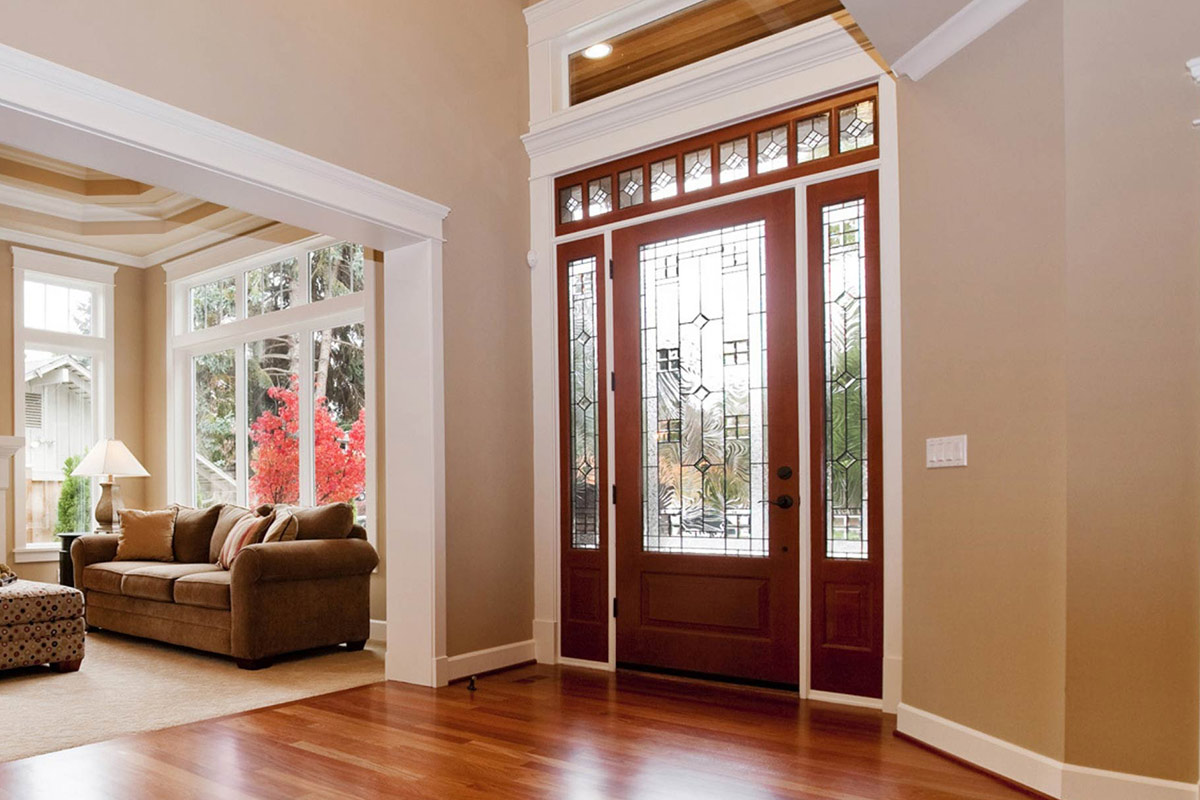
Front doors are not used frequently like decades ago due to side doors and the garage entries; most people do not even get to use their front doors for days. Regardless, front windows and doors are a crucial part of the home’s facade. As a result, the front door must be kept in the best condition possible. So, here are signs to tell it is time to replace your front door.

Hard to Open or Close

If you have to remind your guests to pull the door closed hard when leaving it you have a hard time opening it when going out, you should know that the front door is up for a replacement. An entry should not be too hard to open or close. So, if opening or closing your front door has become a work-out for you, consider replacing it soon. The problematic operation of the door is likely from the frame, hinges, or shape of the door (warped).

How You Can Tell it is Time to Replace Your Front Door

Physical Damage or Wear

Often, we do not pay attention to things we see every day. Take a good look at your front door and examine its physical state. Check the edges, and inside and out. If it has scratched, chipped, dented, warped, or cracked, your front door may require a replacement. Besides, check if the door’s materials are weak, decayed, or rotten. Visible physical damage is a good sign that you should replace your front door.

Poor Seals and Visible Light around Door Edges

If you can see daylight around the edges of the entrance door, that indicates that the seals around the door have collapsed or spoilt. When your door loses its seal and develops small gaps between the frame and itself, it will cause heat loss and reduce the energy efficiency of your HVAC. Drafts will gain access to the home through the gaps. In case you have to stuff a towel under the door to keep cold out of the house, you should replace your front door as soon as possible.

Out of Style

Even if your windows and doors do not have any physical sign of damage, you can replace them if their style is outdated or there are improved models on the market. Energy-efficient windows and doors have a lot to benefit you and your home. Consequently, you can take advantage of new models or styles of front doors for both functional and aesthetic benefits.

Your basement is prone to “water attacks” with time. This can make up very big damages to the home, hence, the need for basement waterproofing. Waterproofing requires the introduction of materials that help prevent water from permeating the whole essence of the basement.

In each case of waterproofing, the processes all start with a consultation. Here are some of the processes underlying these kinds of basement waterproofing.

External Basement Waterproofing

External basement waterproofing has been highlighted as the best method for protecting the basement against water. The processes involved here are quite more elaborate and labour-intensive than the internal basement waterproofing. After consultancy of a plumbing agency, they analyze the problem and work begins based on recommendation.

Processes involved in external basement waterproofing include:

  1. Excavation

This can be otherwise called digging around. It involves striking through the earth until the foundation walls are visible. If the only problems involved are with the weeping tiles and or French drain, then full excavation will not be necessary. Excavation is typically between 4 to 8 feet.

  1. Fix Cracks and Clean

If the foundation has weeping tiles, they are detached from the foundation walls and cleaned. There usually is a possibility for cracks permitting water into the foundation. This process finds such cracks and fixes them with hydraulic cement which is a coat that expands. Hydraulic cement reduces the possibility of cracks even in the future.

Process of Basement Waterproofing

  1. Application of Membrane

This thoroughly shields the foundation from water. It involves the use of polyurethane materials. The use of quality products here is essential. Elastomeric membranes, for example, are great waterproofs. They can move to inhibit cracks when they eventually occur.

  1. Installation of Drainage Mat

You will need to install a drainage membrane that has moulded dimple sheets. It is usually sized the same depth as the foundation. It acts to inhibit lateral pressure for the foundation and serves as a drainage membrane.

After these processes, the French drain or weeping tile is installed at the bottom of the footing weeping underneath the basement floor. Then, backfilling is done with the native soil excavated from the foundation. And the home is secure.

Your basement is prone to “water attacks” with time. This can make up very big damages to the home, hence, the need for basement waterproofing.

Internal Basement Waterproofing

This is inferior to the external basement waterproofing. It is done in cases where the foundation cannot be accessed directly or where excavation is optimal. It begins with consultancy and identification of the problem areas.

The processes involved include;

  • Breaking the floor area involved, about 7-10 inches away from the walls of the foundation.
  • Installation of the weeping tile (3 inch and perforated) is done after the concretes are removed.
  • The weeping tile is connected to a floor drain or pump
  • Dimpled membrane drainage sheet and ¾ inch gravel are added to the weeping tile.
  • Concrete is used at the last stage on the exposed part back to the ground level.

External and internal basement waterproofing are both essential based on situations to counter water permeation. The external method is preferred because it attacks the problem from the real source. Contact your local plumbing company to get a perfect response on your basement waterproofing needs.