


Do you know about a limited eye test? It refers to vision screening performed by a school nurse, a pediatrician, or health care volunteers or professionals. The limited eye test helps in identifying the risk of vision problems. An eye test is known as vision screening when it is taken for a driver’s license. It is not a complete eye checkup. It serves as an alternative. An Optometrist conducts comprehensive eye exams, while the pediatricians and family physicians may miss some important vision problems requiring immediate treatment.
Who is an Optometrist?
The words ‘OP’ refer to eye doctors, and they are optometrists and ophthalmologists. An optometrist focuses on regular vision care, lenses, and eyeglasses prescription. While an ophthalmologist is a physician offering eye care services. They work together, offering vision care.
The Optometrist services include conducting eye exams, giving treatment for conditions, such as far and nearsightedness, besides astigmatism, providing therapy, low vision aids, prescribing contact lenses and eyeglasses. They also diagnose conditions such as macular degeneration, cataracts, glaucoma, diabetic retinopathy, and conjunctivitis. They also participate in a post or pre-operative care after surgery.
Who needs to go for a regular eye checkup?
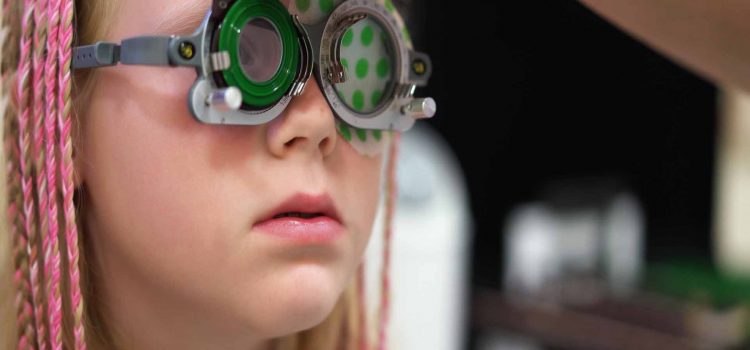
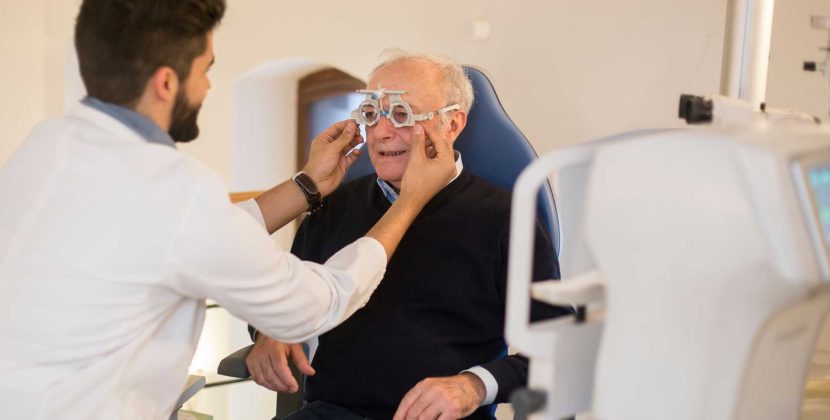
The importance of going for regular eye checkups to an optometrist is a must for children and adults. The adult eye’s current prescription is taken into account, and the optometrist looks for eye disease early signs. Checking of eyes is important for children to ensure normal vision development.
How frequently is a checkup required?
A complete eye examination for adults should be once in one to three years, relying on the risk factors, age, and if you are already wearing corrective lenses. A routine eye examination is required for children, as well. Children may go for an eye exam when they are six months, three years, and at the school commencement. Until age 18, children can go for eye exams once in two years. However, children using corrective lenses should go for annual eye checkups.
How optometrists help patients?
Optometrists are experts paying a vital role in patients’ vision, overall health, and eye health. They are trained to:
- Manage, treat, and correct disorders and visual system diseases, the eye, and its structures.
- Detect and recognize related systemic conditions.
- Removal of foreign bodies below the cornea surface or from the eye.
- Prescribe oral or topical schedule for eye care.
- Diagnose and treat perceptual and binocular vision disorders.